Google Cardboard and Virtual Reality in the world of Architecture: 3DS Max
Google cardboard caught my eye in late 2014. I was not one of the first to know about the new technology, but I may as well have been. When I started researching the topic let’s just say information was scarce. Unless you wanted to talk about virtual pornography. I was and am interested in the technology for two reasons and from two separate, but not different, fields. As an architect I can see the value of submersing the designer and/or the client into a space and allowing them to look around. Equally, as a photographer who shoots a lot of architecture and commercial real estate, I can see the value of such a visceral virtual tour.
You can pick up a google cardboard headset on ebay.
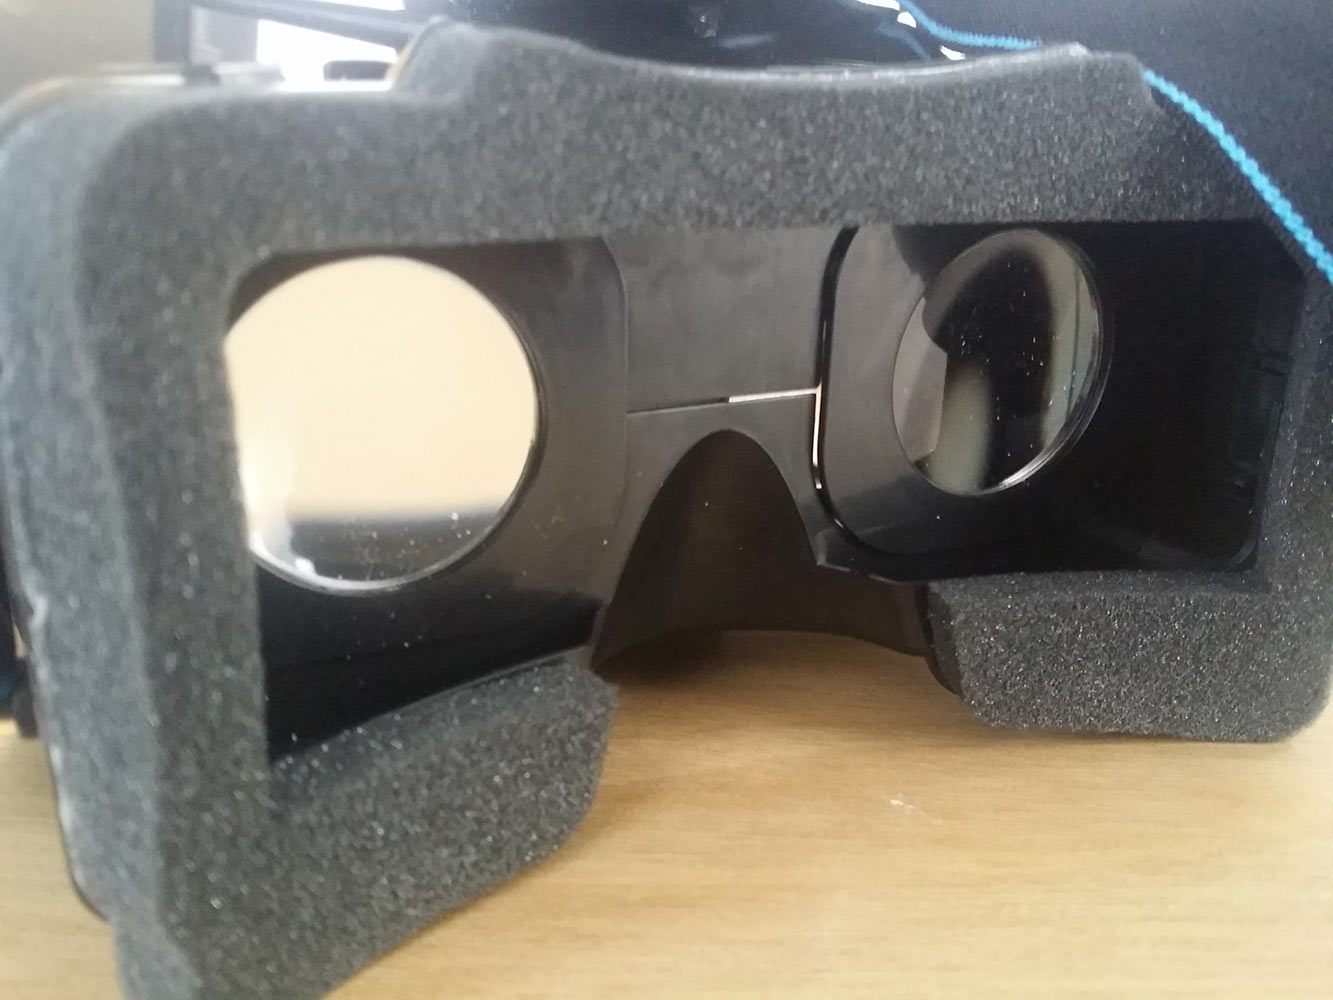
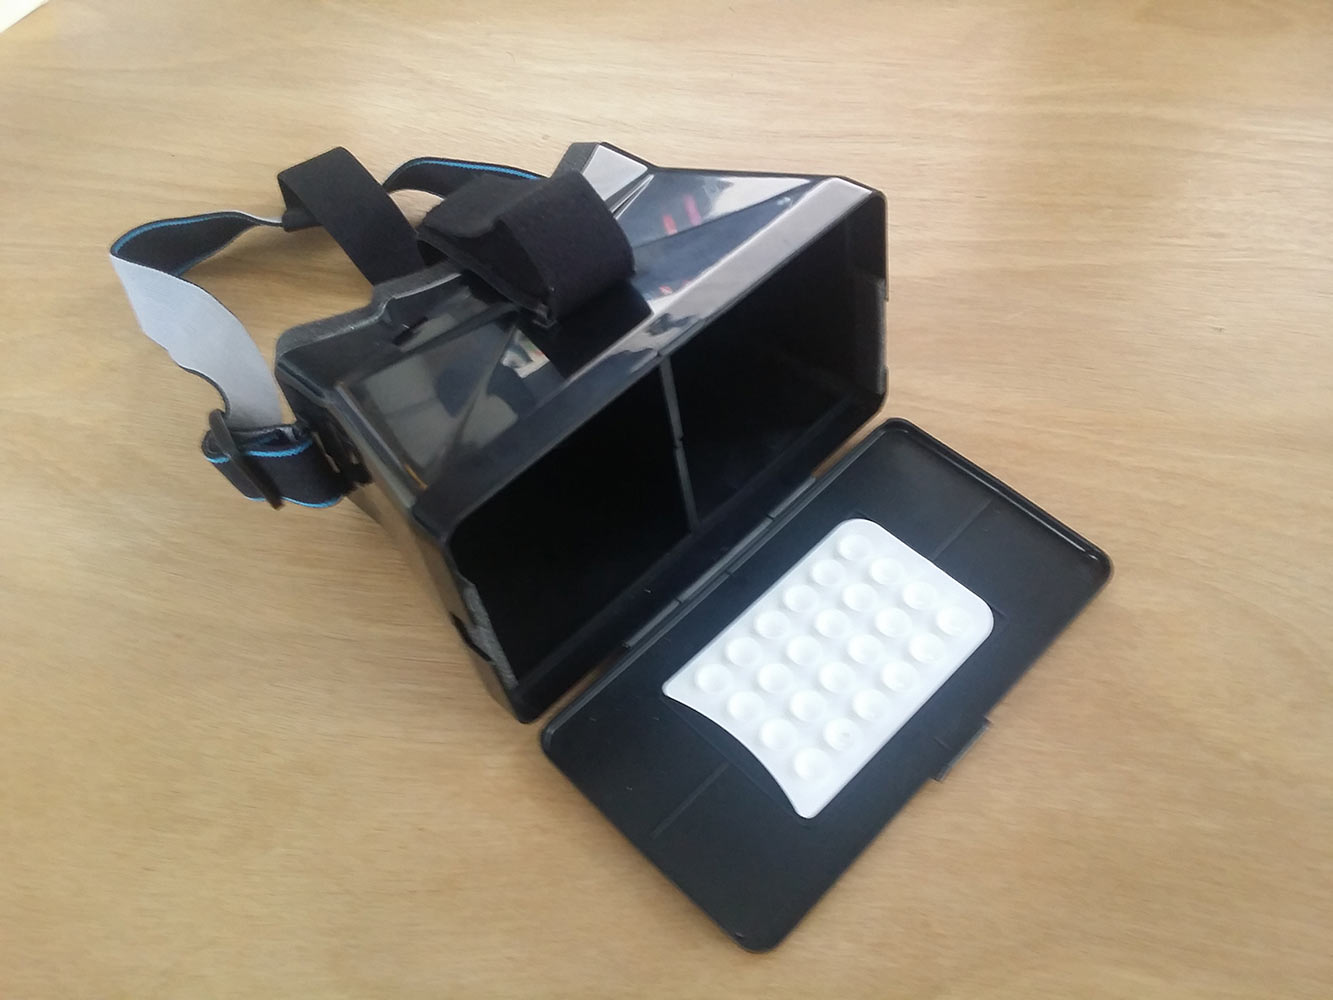
After doing a minimal amount of research, I purchased a plastic version of cardboard from Amazon.com. I didn’t want it to be ruined by some condensation from my water glass. Adjacent are a couple photos of the device. It was made to accommodate my Galaxy Note3. There are many makers of these, and I suggest getting one that has good reviews. Some are able to accommodate many sized phones – android and ios, like the iphone, 4,5,6 and a range of similarly sized android models.
The first thing I did when the headset came was download the Google Cardboard App from the Google App Store and ride some roller coaster. I was impressed pretty quickly. Then I did some more reading and found the ‘Google Camera‘ that allows you to make photos pheres. I suggest staring with Google Camera and playing with that for a while. It’s pretty incredible. Then I began to see the light as to how I might be able to use the device in a practical and professional way. Photospheres are really just 3D panoramics. The good ones go all the way around, 360 degrees and are created by taking dozens of photographs. I was able to make a couple cool photospheres using my Galaxy Note 3 and view them in the headset. I have to admit, I thought it was pretty awesome.

I next considered the idea that I could use 3DS Max to do a similar thing. What if I took 30 photos (renderings) in 3DS max and stitched them together? Before attempting this, I had to make sure I could manually import a photo sphere, or photo-stitched ed image into the viewer (cardboard app). So, I took thirty photos using my camera, pivoting and overlapping by 50% as I turned my body. I then used Microsoft ICE to stitch them together. I uploaded the resulting image to my phone and unfortunately the Google Cardboard app did not find it. This left me confused for a bit. I read something about the naming convention used by the app, “PANO_filename.jpeg” – and so I tried to rename my image. This did not work. Then I downloaded one of the images I had created using Google Camera onto my desktop to see if there was any metadeta that was ‘talking’ to the ‘cardboard app.’ I did notice the Program Name was fixed on Google – this was the only parameter I could not change when looking at the image ‘details’. As with most new technologies, I started experimenting. I opened the jpeg created using Google Camera in Photoshop, and pasted in my own image and re-saved the file. I uploaded the file to my camera and voila. My manually stitched photo was now being found by Google Cardboard when I selected Photo Sphere.
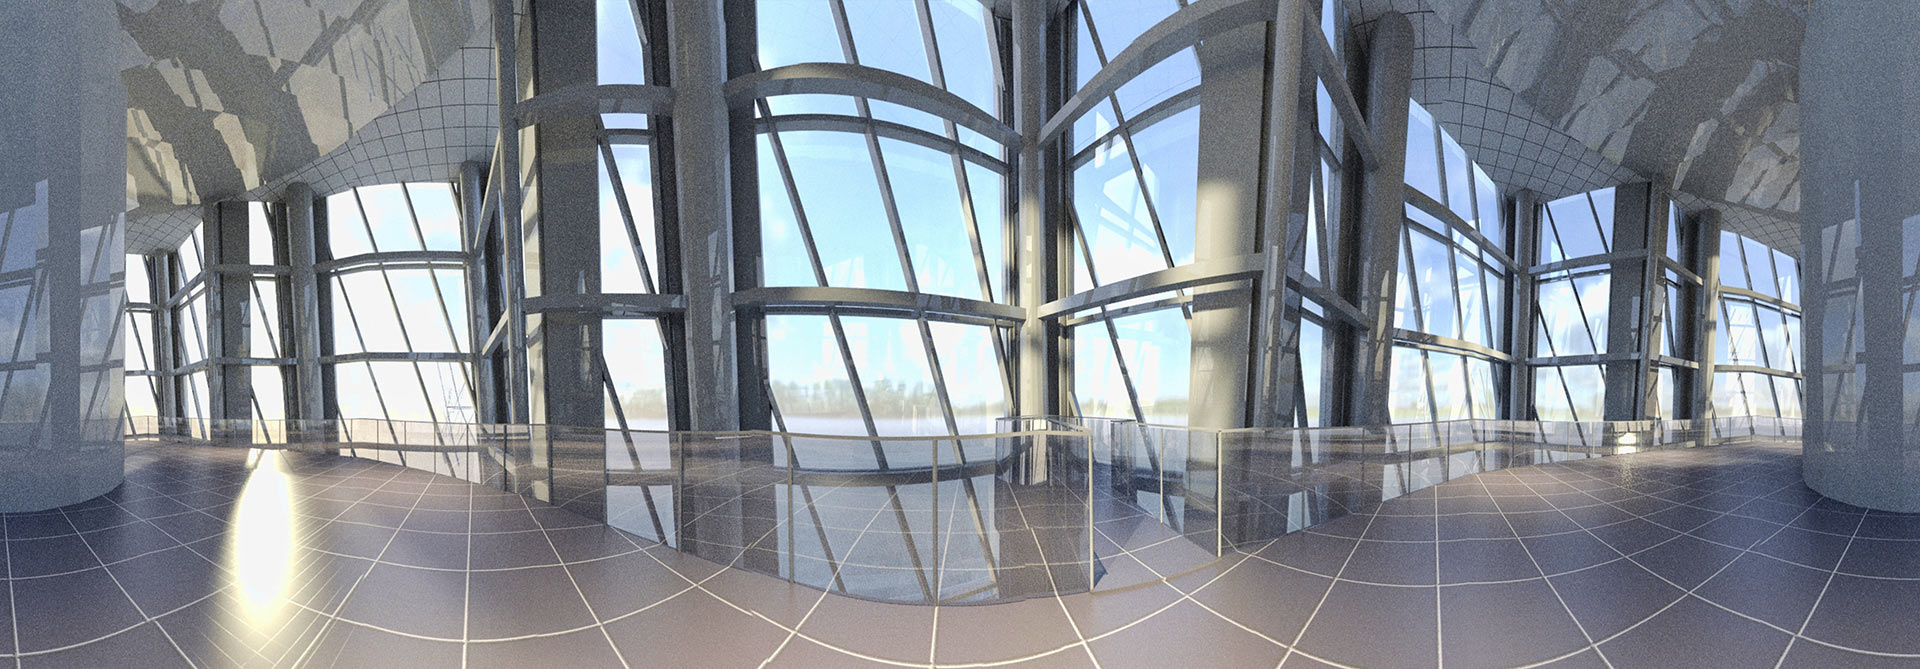
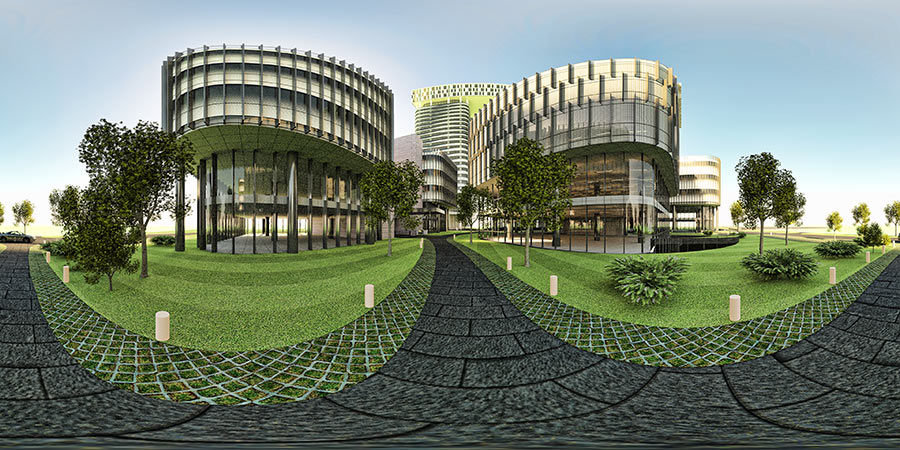
Once I realized I could manually create photo spheres to view on the headset, I figured I could create them the same way in 3D via rendering 30+ photos and stitching them together using Microsoft ICE. There is probably a better way, but I haven’t yet discovered it. I’ve only been at this for two days. The project I was currently working on has a roof atrium so I used that 3D model and rendered the necessary frames in much the same way you would take pictures in the real world.
EDIT: I have discovered a better way than rendering 36 frames. If you are using Mental Ray or Vray you can just use the wraparound lens shader in the Camera Effects Rollout. However, if you are using IRAY, things are still a bit more tricky. However, in the Utilities Panel, select More, then Panorama Exporter can get the job done without having to use ICE.
Another UPDATE: Once you have your rendered or manually photographed panorama, you can simply use this link to upload your jpeg, and Google will add the necessary metadata to your file so that cardboard and other apps will recognize the jpeg as a photo sphere.


Much to my amazement, it worked. It wasn’t perfect, but it was a proof of concept. I was able to load up the image on the headset and turn 360 degrees looking up and down. It was a cool moment. I had never experienced a rendering that way. Here is the download link to the rendered Photo Sphere; and here another. all you need to do is download it to your phone.
Is it working for you? Let me know in the comments!


Great info! I’m an architect as well and have been playing with Cardboard lately. I’ve researching taking 3d models through Unity, but the wraparound shader looks like a good method as well.
I’ve done some light reading on Unity; and it’d be a must if you wanted to really ‘move’ through your space. Obviously, photospheres only allow you to pan and tilt from a locked location.
Pingback:Virtual Reality: Coming to an Architecture Office Near You | ArchDaily
We’re launching our VR platform vrapp.co end of this month. If you want to betatest, please let me know
There is a better way to render a 360 degree view in Vray.
You go to the V-Ray Camera Rollout, choose Spherical in “Type”, change the Override FOV to 360. Make sure to have your image aspect ratio 1:2, for example 1200 x 2400 pixel image. Always twice on the horizontal side.
This method is by far the easiest, simply put your camera in the center of the room or area to be seen and hit render, no stitching required in Photoshop or any other software.
In mental ray can be achieved by going to Rendering menu, then click on Panorama Exporter, then on the command panel will be a Panorama Exporter rollout, simpy hit on the “Render…” button to display the rendering options. Simply choose a fixed preset resolution (it will always be a 1:2 aspect ratio) or type your own and after the rendering is done, go to file and export, choose sphere and save it in as jpg or another extension.
Hola Juan.
Me gustaria tanto aprender como hacer un render en 360 grados, que sea estereoscopica.
Basicamente me gustaria hacer un app en donde se sigue con headtracking y se puede ver la imagen, algo similar al app: dreamizer VR donde hay buenos ejemplos de renders en 360 esferico y con vision estereoscopica para google cardboard.
Espero que me puedas dar una manita :o)
Yes, highlighted – I have noted that you can use the wraparound lens and/or the panorama exporter.
Hola Gianni, busca en google Vary 360 Panorama Render, y busca en los resultados el website de pixelsonic, alli esta la explicaciòn.
Solo tienes que ver la parte de los settings de la cámara, el resto se maneja igual.
Saludos
Hi Josh,
I want to thank you for writing this article. It has open a new world for me. I have installed many applications for cardboard but found one that I would like to do myself.
Its called Dreamizer VR and they show some CG rooms that you can look. What I am trying to find out is how to do the package, meaning show my collection CG images in an .apk package in google store. Anyone knows?
Right now I can post my images with metadata but the user needs to download them to their phone and use a spheric viewer such as Tao Visor and open the file to view it in VR.
Here are some examples: http://www.3drenderingdesign.com (3drenderingdesign in google)
Looking forward to hear your comments and tips!
gianni
Hello gianni, did you found a way to put a images collection into on .apk? I found some tips for Unity, a multiplataform developer tool, there is a sample package right from Google Developers site, google it: “Getting started with Unity for Android”.
I’m still learning how to use it, how can I customize the demo to run just one scene.
hi Josh. i’m not seeing any ability to view our renderings with the cardboard app. i’m wondering if perhaps its becausei’m on an iPhone? are you using an android to view your images?
awesome post! Cardboard is definitely one of the easiest ways for architects to start dabbling with VR. There’s no need for a huge PC, tons of cables, nor is it expensive.
I’d love to hear you and your readers’ feedback on a new tool we’ve been working on to make presenting these VR experiences easier. In a nutshell, you can give a cardboard viewer to clients and see what they’re seeing on your desktop. You can also control which image they’re currently looking at so that you can tell a story in VR at your own pace.
check it out: http://www.insitevr.com
Great post… Cardboard is really easy way for dabbing wirh VR platform.
Also it is cheaper then other things.
Yantram Studio
Pingback:Google Cardboard: cos'è e come funziona
Thank you for the information. But I want to export a panorama sequence from 3d studio using Mental Ray, but the panorama exporter only let me export a single frame.
Use a panoramic lens shader if you’re using MR.
Just curious if you noticed but Google’s Camera App actually takes 2 images of the 360 pano. One image is for the right eye and the other for the left. they both are 360 panos but with a slight overlap (for stereoscopic effect). The question is “how do I edit the right eye image”. I can easily export a Camera capture to photoshop and clean it up etc (retouch or add text etc) but when I re-import the image to Cardboard Camera my edits only appear in the left eye view. Somewhere Google is hiding the right eye view (maybe metadata or something). Does anyone know how to access that other view?
Yes I am having the same issue where i did some touchups on the .vr.jpg file in photoshop, and when i open the altered file in the cardboard camera app i see the edits in only one eye. If anyone knows how to edit the other eye it would be appreciated
Cardboard Camera Toolkit! helpful tool is here -> cctoolkit.vectorcult.com/#
1). You can ‘splitting’ one “.vr.jpg” in to two separated images “-left.jpg” and “-right.jpg”.
After editing both images in for example Photoshop
2). you can merge again these two in one vr.jpg using the same “toolkit” – choosing the section “Join”!
Good Luck 🙂
Hey Josh, thanks a ton. I’m currently using your technique of pasting my rendered image on photospheric image created by my cameraphone ans it’s working. Just curious about , is there any other way of dong this!
Thanks in advance.
Hey, also is there any way to control distortion in the image??
Well this was cool to get me started, but the link for adding metadata to your photo you have is dead and th etoolkit thing mentioned a few comments up is confusing and doesn’t seem to work.
Pingback:VR TEST ROOM | MODELLING – PHYSICAL DIGITAL EXPERIENCES